 Fouled Anchor Safety
The work order
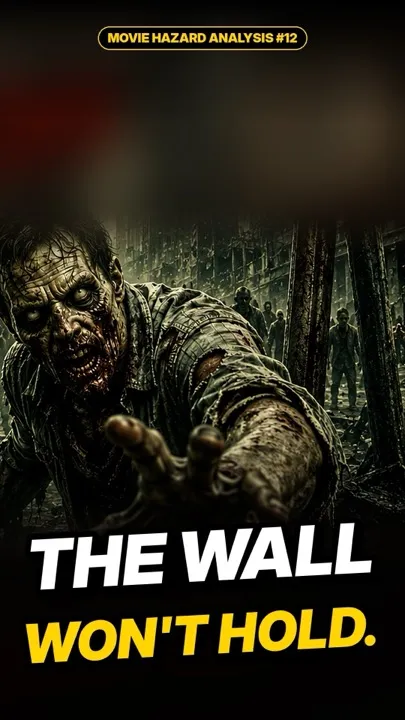
Movie Hazard Analysis #12 runs the perimeter wall breach from World War Z (2013) as if it were a real work order: four steps, hazard by hazard, controls, and initial vs. residual risk scoring.
Featured in the video
Steps 1, 3, and 4:
- Conduct incident-command briefing and structural-positioning assessment
- Maintain perimeter position during crowd escalation
- Withdraw, account for personnel, and secure affected areas
What moved the risk
This export scores on MIL-STD-882E, where a lower number is worse: 1 High, 2 Serious, 3 Medium, 4 Low, 5 Negligible. Steps 1 and 3 reduce from 1 High to 2 Serious. Steps 2 and 4 stay at 1 High with controls flagged insufficient, so the overall residual does not move. The JHA calls the loading "dynamic cumulative crowd load," which is one way to put it.
The transfer to real work. A structure rated for a static load is not rated for a load that moves, climbs, and accumulates. Crowd-loading failures at barriers, grandstands, viewing platforms and temporary structures follow the same arithmetic - and the control is the same one the document gives, that nobody is required to remain on a structure no longer verified capable of supporting its live load.
Every hazard, control and risk number shown comes from the JHA itself; nothing is invented or rounded for effect. Inspired by World War Z (2013): commentary and hazard analysis of a fictional scene as depicted, with no affiliation with the film or its rights holders. The underlying JHA was generated with JHA Rapid, is AI-assisted, and must be reviewed by a qualified safety professional before use. Not a compliance document.